A Helping Hand for the Gym
Design
•
Engineering
26
–
1,
2019
In collaboration with Operation Namaste, I collaboratively prototyped a portable 3D printer that folds into a briefcase. The work culminated in bringing the prototype to Camp No Limits at Quinnipiac University in July 2019, where I spent a long weekend working with prosthetists and a congenital amputee to design and print her a hand device for working out in the gym. Here are some pictures showing the process:
Day 1: July 12
On this first day, we sat down with the patient to get an idea of what she was looking for in a workout-focused hand device. She mentioned two main issues with her existing devices:
They tended to slip off of bars when she pushed against them.
They didn't offer a good way for her to carry or pull on a bar.
As we made decisions during the meeting, I created an initial CAD model in Fusion 360. It was fun to work quickly and make changes as they came in.

The initial CAD model (Version 0). Two different-diameter notches on the distal end allow for easy, no-slip support when pushing against a bar. The mushroom shape allows for hooking around bars and pulling on them.
That night, we 3D printed the initial design (Version 0) in TPU on our prototype foldable 3D printer.


The Version 0 prototype on the printer's bed. Left: printing in progress. Right: finished print.
Day 2: July 13
The patient tried out the Version 0 prototype and gave us valuable feedback. She liked how the notches performed, but the mushroom shape wasn’t a secure enough hook to help her lift weights. Based on this feedback, we decided to add hooks that could snap onto weight bars, like a LEGO minifigure's hand. We added two hooks because we wanted the device to work on bars of multiple sizes.
I modeled two options for Version 1, detailed in the figure below. Option a has just one slot on the face of the device, whereas option b has two intersecting slots. I modeled option a in case option b was not stiff enough.


CAD models of Version 1. This version adds two hooks (different diameters) to provide a secure way to pull on or lift bars. Option a (left) has one notch and is designed to be stiffer, while option b (right) has two notches and is designed to be more flexible.
After modeling these Version 1 designs, it was time to print option b, with two slots. The printer had extrusion issues with the TPU filament we were using, but we managed to get a print done eventually.
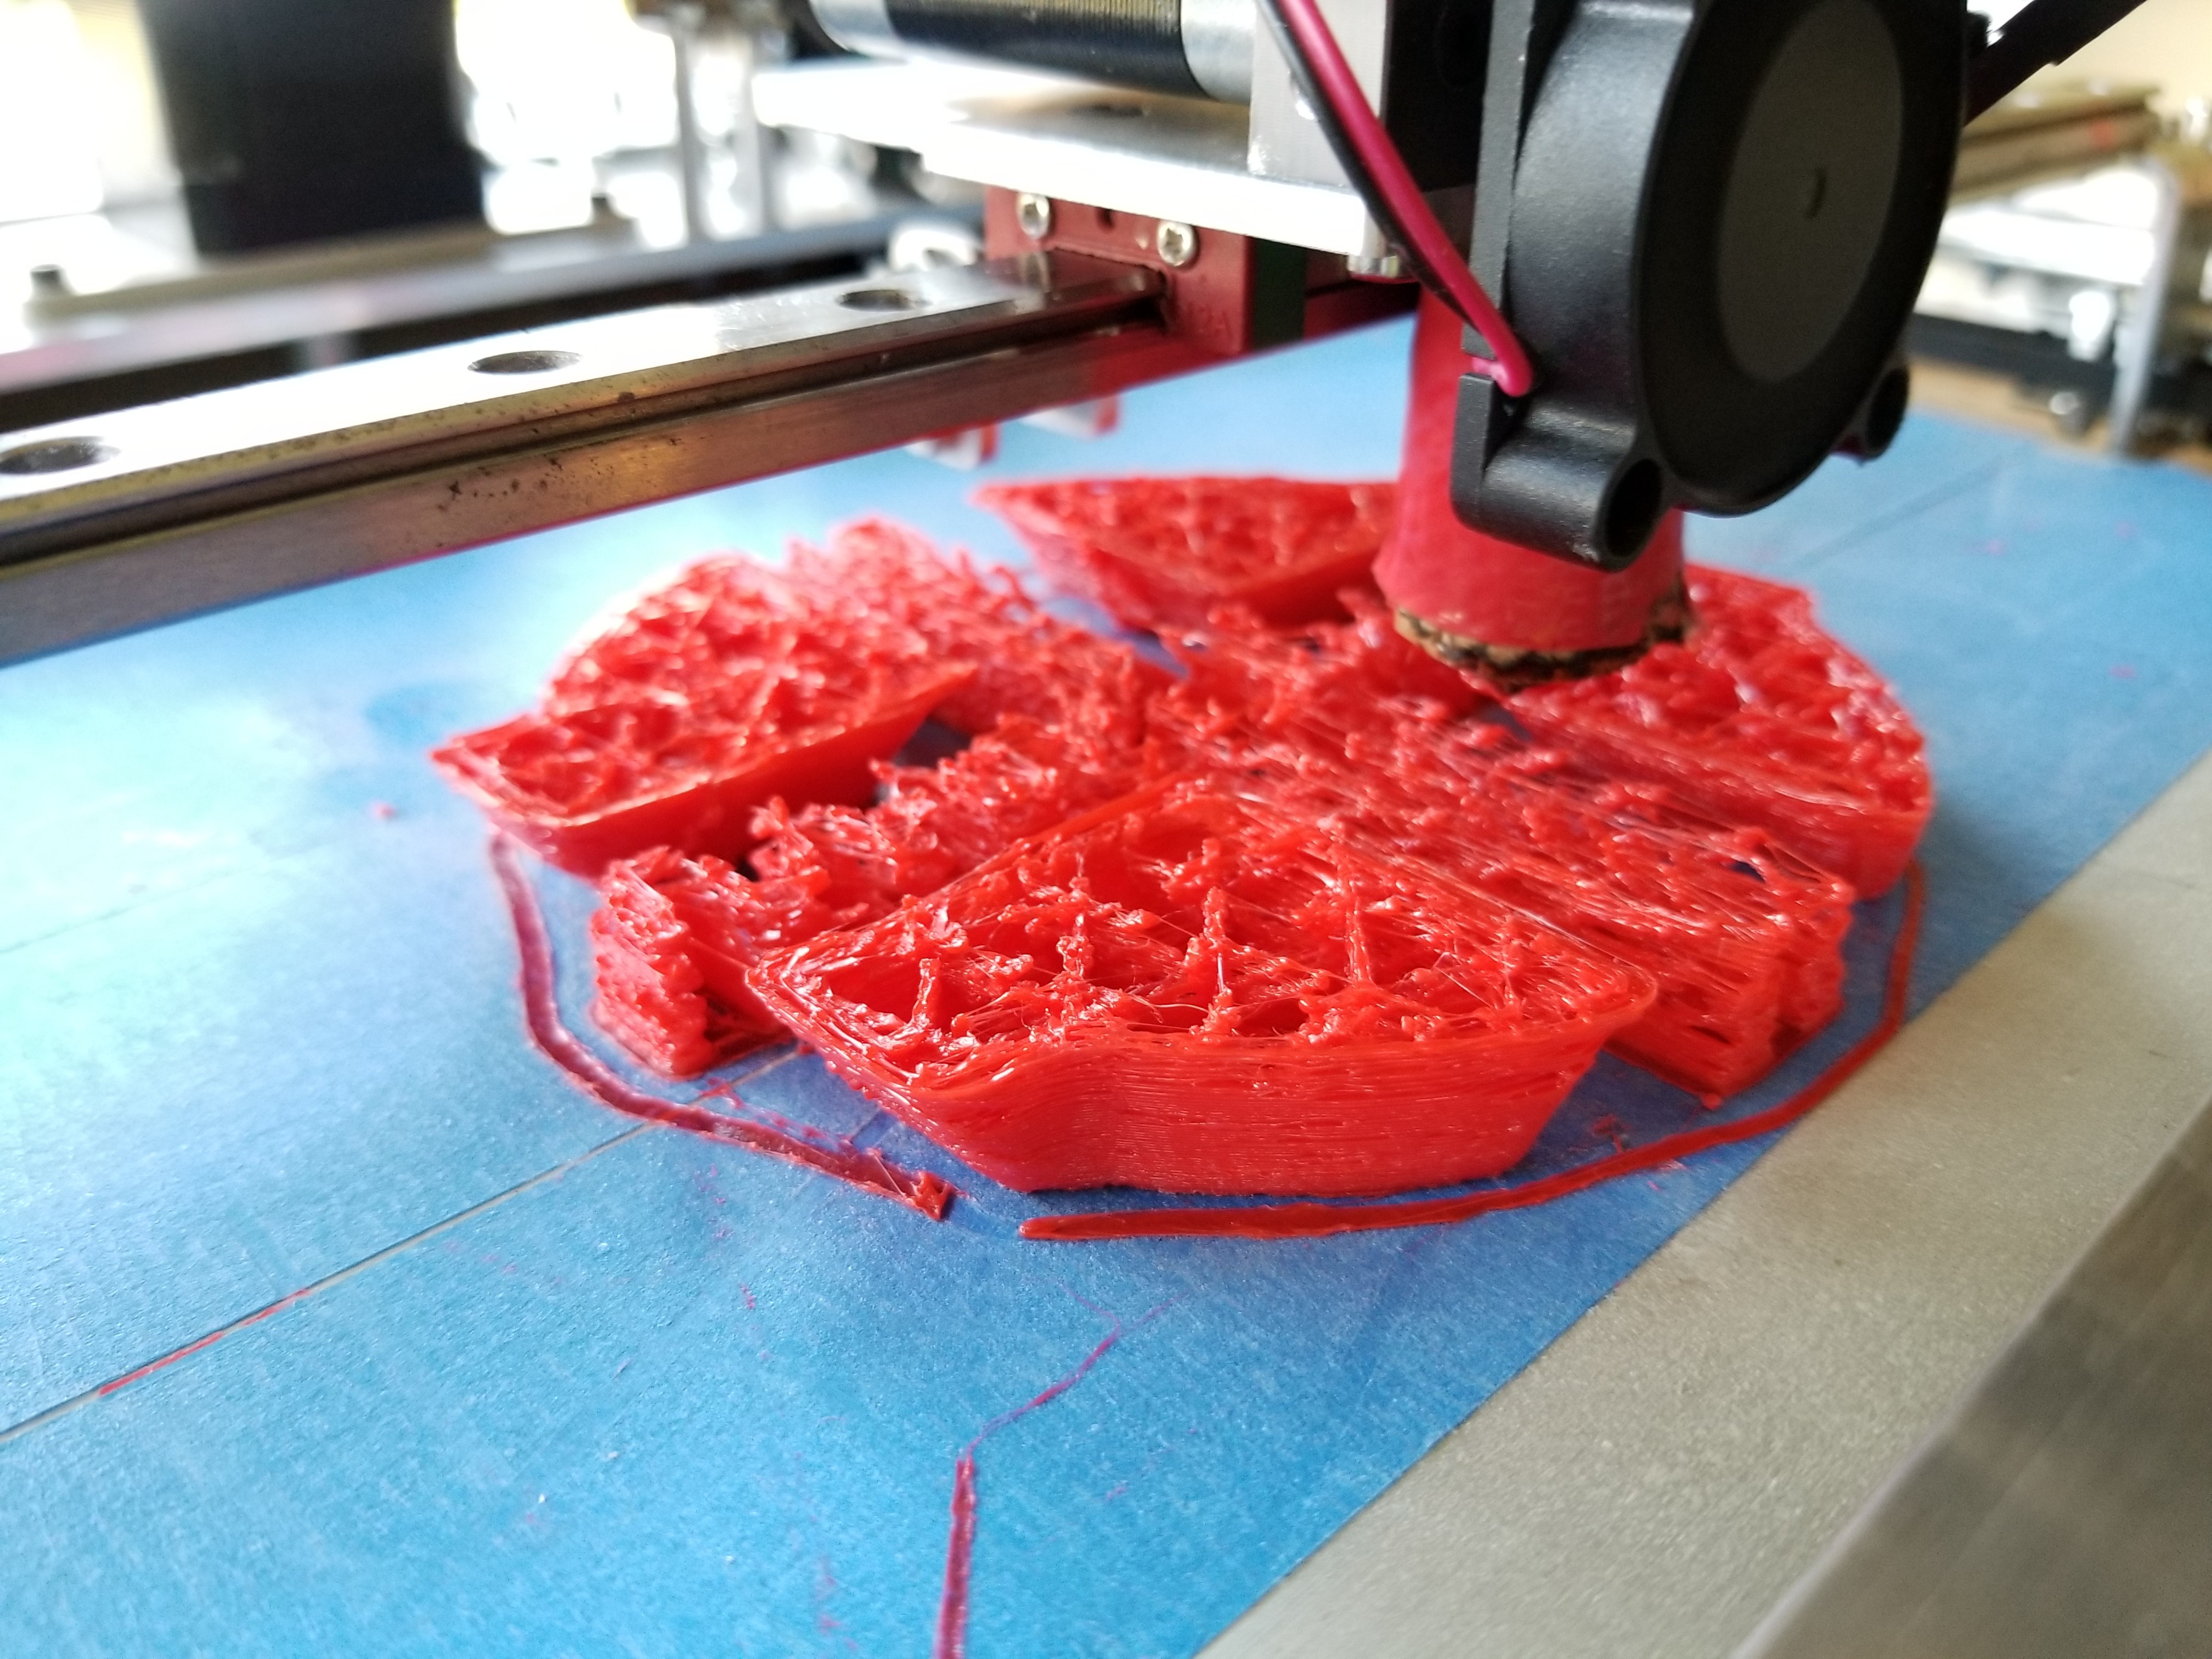
Printing the Version 1 model with two notches and two hooks. Extrusion was inconsistent with the TPU filament we used.
Day 3: July 14
After the patient saw the two second-iteration concepts and tried out the printed two-notch version, she noted that having two hooks was annoying. The mushroom shape was still useful for smaller pulling tasks, but that usefulness decreased significantly when the extra hook feature got in the way. She also said she would prefer a slightly stiffer feel when pulling on a bar.
With this feedback, we landed on the following final design. We removed one clip, bulked up the other, and reduced the depth of the second notch.

The final concept. This version reduces the size of one notch to increase stiffness in that direction, and it only includes one clip-hook feature, leaving room to use the mushroom shape for smaller tasks.
We finished the design on the final day of Camp No Limits, so we didn't have time to print it before we had to pack up the 3D printer and head home.
After Camp No Limits
Back at the main lab, we were able to print the final concept on a better-tuned printer. Once the print completed, we coated it in a rubber sealant to reduce porosity and improve the surface finish. Below are some images of that final print process and the resulting finished product.

Printing the final concept, take two (using the better-tuned printer back in Lake Placid).

Fully printed, attached to one of the patient’s sockets. Notice how the hook feature wraps almost 270°, allowing for size adjustment by bending it outward.

Cleaned up and coated in a rubber sealant — to decrease porosity and provide a nice finish.

Mounted for testing. It deforms nicely when you put weight on it.

Looks like both a futuristic mushroom and a LEGO minifigure hand — sleek and functional.
After fabricating the device, we shipped it to the patient. She loved having a gym hand that finally worked, not to mention its rapid development cycle and low cost.